Sipping in Style: Basement Makeover into a Home Bar
Hosting a gathering is something we all enjoy, but the challenge often lies in creating the right space for it. In our previous home, we had a fantastic basement bar with a striking blue stone top. However, our current home lacks the space for such a setup. So, we decided to get creative and transform our basement kitchenette into a bar.
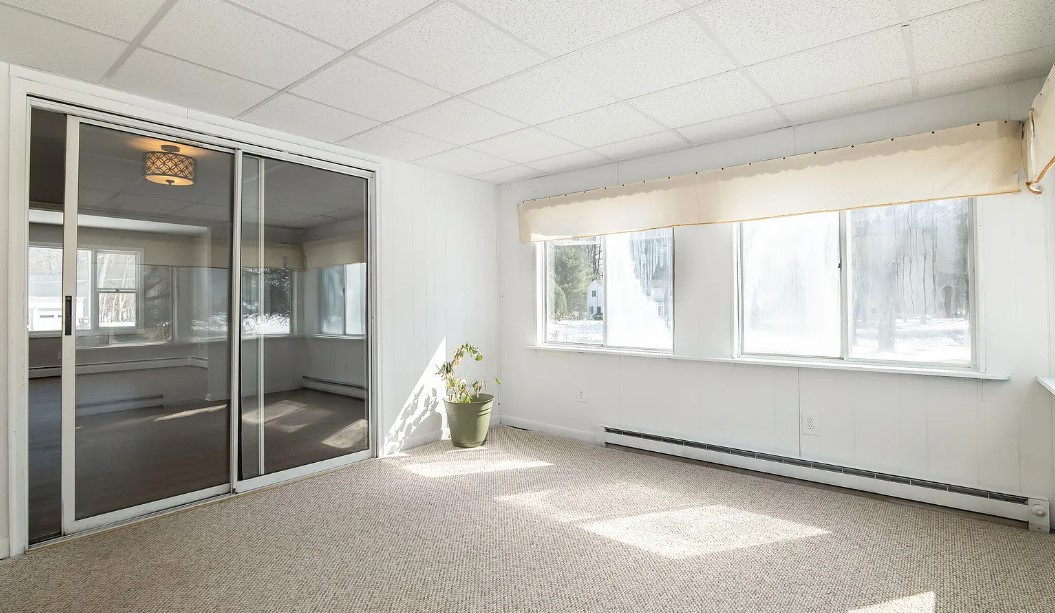
After inspecting the walls in the kitchenette, we noticed that they were covered in wallpaper, and the seams were quite visible. Our initial plan was to remove the old wallpaper, but we soon realized that it was a more challenging task than we had anticipated. After careful consideration, we made the decision to leave the wallpaper in place and opt for a texturizing approach instead.
Bringing the Room to Life: Painting Walls and Shelves
Chuck prefers a more masculine bar area and has an incredible ability to envision the entire picture, right down to the smallest details. This project was no different, and I had to keep an open mind as he shared his ideas. He envisioned dark wood and medium brown walls. While I trusted him, it wasn’t without some reservations.
Now, I had never textured a wall before, so I did some research and stumbled upon a blog with straightforward instructions. The first step was patching and priming the wall. Then, I mixed joint compound with water until it resembled the consistency of cake batter or whipped cream. I chose DryDex because it turns from pink when wet to white when dry for easy tracking. To create the texture, we found a roller cover that resembled shredded wheat.
We filled a paint pan with the mixture and rolled it onto the wall. Initially, it had a spiky and intriguing appearance. However, as it dried, it began to soften and drip. To counter this, I placed a fan in the room and, every 5 to 10 minutes, ran the roller back over it, preserving the spiky texture.
Once the entire wall had dried, it was time to choose the paint. Fortunately, we found a gallon left by the previous homeowner that was slightly darker than our original preference, but it turned out to be a great choice. We painted the walls and the built-in shelves on the back wall, and the result was stunning.
Furnishing the Space: From Shelving to Southwestern Accents
After reinstalling the sink and refrigerator, we measured the walls and decided on a 6-foot bar made from 3/4″ plywood, cut to 14″ wide. We also added three 6-foot shelves using 1×8 and 1×10 boards above the bar. These shelves were stained with Bombay Mahogany from Minwax and received an extra coat of polyurethane for durability.
On the opposite wall, we repurposed leftover boards from the closet, which were already stained in a blueish grey shade and coated with matte polyurethane. To introduce a touch of elegance, we selected gold-colored shelving brackets and hung them on the wall.
To make room for our glasses after selling our white farmhouse-style hutch, we placed them on the blue shelves. Above the bar, we displayed our collection of liquor bottles, embracing a southwestern theme. To add character to the room, we acquired a stunning faux cowhide rug for the floor and hung Chuck’s grandfather’s old cowboy hat alongside a large steer skull.
This room came together beautifully and now serves as the perfect space for guests to craft cocktails or simply grab a soda. We eagerly anticipate our next gathering so we can showcase how this room has been transformed to our friends and family.